✨ Made with Daftpage
Ledger.com/start – A Simple Guide to Setting Up Your Ledger Wallet
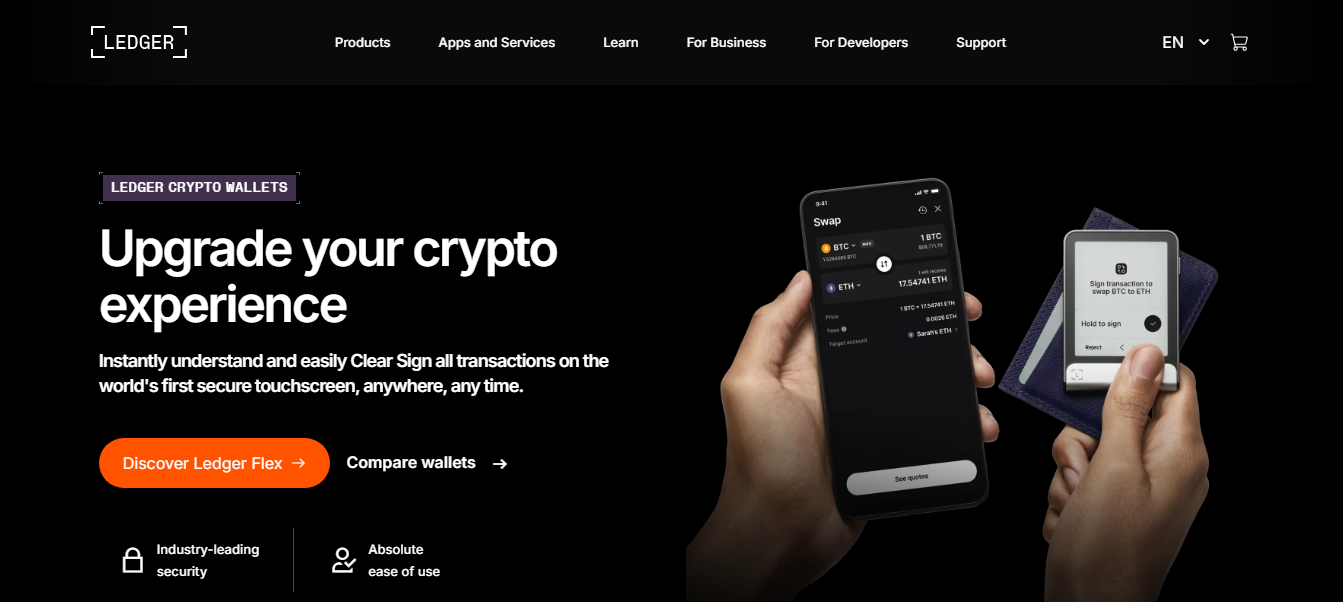
If you’re new to cryptocurrency, you’ve probably heard about how important it is to keep your crypto safe. One of the best ways to do that is with a hardware wallet from Ledger. The official website Ledger.com/start is where you begin your setup journey. This page helps you install everything properly and teaches you how to protect your crypto assets from hackers and scams.
Let’s go through what Ledger.com/start is, why it matters, and how you can use it to set up your wallet step-by-step.
What is a Ledger Wallet?
A Ledger wallet is a small physical device that stores your cryptocurrency securely. It’s called a hardware wallet because it keeps your private keys offline — away from the internet. Your private key is like a password that proves you own your crypto. If hackers steal it, they can take your money.
By using a Ledger wallet, your private keys never touch your computer or the internet. That means even if your computer is infected with malware, your crypto stays safe.
Ledger makes two main types of wallets:
Ledger Nano S Plus
Ledger Nano X
Both offer the same high level of security, but the Nano X has Bluetooth connectivity, so you can use it with your phone more easily.
Why Visit Ledger.com/start?
When you buy a Ledger device, you should always go to Ledger.com/start before doing anything else. This is the official setup page from Ledger. It guides you through everything step-by-step — from connecting your device to installing the Ledger Live app.
Here’s what you can do at Ledger.com/start:
Download and install Ledger Live (the official app to manage your crypto).
Set up your new wallet safely.
Create and back up your recovery phrase.
Update your device’s software.
Learn how to receive and send crypto securely.
It’s very important to use the official Ledger website. There are fake websites that look similar but are designed to steal your information. Always type the web address yourself: www.ledger.com/start
Step 1: Check Your Box and Device
When your Ledger wallet arrives, make sure it’s new and sealed. The box should not be opened or damaged. Inside, you’ll find:
The Ledger device (Nano X or Nano S Plus)
A USB cable
Three recovery sheets (for writing your 24-word phrase)
A quick start guide
If anything looks suspicious, don’t plug it in — contact Ledger Support immediately.
Step 2: Connect Your Device
Next, go to Ledger.com/start on your computer or phone. Download the Ledger Live app from the page. It’s available for Windows, macOS, Linux, Android, and iOS.
Once it’s downloaded:
Plug your Ledger device into your computer with the cable.
Follow the instructions in Ledger Live.
Choose “Set up as new device.”
You’ll be asked to create a PIN code (4 to 8 digits). This PIN protects your device in case someone else tries to use it.
Step 3: Write Down Your Recovery Phrase
After setting your PIN, your Ledger device will show a 24-word recovery phrase. These words are the key to your crypto.
If you ever lose your device, you can use the recovery phrase to restore access to your coins on a new Ledger wallet.
Here’s what to remember:
Write the 24 words carefully on the recovery sheet.
Keep it in a safe place — not online.
Never share it with anyone, not even with Ledger Support.
Don’t take photos or store it in a file on your computer or phone.
If someone gets your recovery phrase, they can steal all your crypto. So, treat it like gold.
Step 4: Install Ledger Live
The Ledger Live app is your main control center. It lets you:
Add different cryptocurrencies (Bitcoin, Ethereum, etc.)
Check your balances
Send and receive crypto
Update your device
When you first connect, Ledger Live will check that your device is genuine. Follow the steps to verify it. Once confirmed, your wallet is ready to use.
Step 5: Add Crypto Accounts
Inside Ledger Live, go to “Accounts” and choose which cryptocurrencies you want to add. Ledger supports hundreds of coins and tokens, including:
Bitcoin (BTC)
Ethereum (ETH)
Solana (SOL)
Polygon (MATIC)
Litecoin (LTC)
And many more
Once added, you can receive crypto directly into your Ledger wallet. To receive coins:
Click “Receive.”
Choose the account (for example, Bitcoin).
Verify the address shown on your computer matches the one on your Ledger device.
Copy the address and share it with the sender.
Your crypto will appear in your Ledger Live account once the transaction is confirmed.
Step 6: Keep Your Device Updated
Ledger often releases firmware updates to improve security and add new features. Whenever you see a message in Ledger Live about an update, follow the instructions to install it.
Updating ensures your device is always protected from the latest threats.
Step 7: Stay Safe
Here are a few important safety tips:
Never share your recovery phrase.
Ledger will never ask for it.
Buy only from the official Ledger website.
Avoid third-party sellers.
Use only the official Ledger Live app downloaded from Ledger.com/start.
Store your recovery sheet in a secure place.
Some people even keep copies in a safe or bank deposit box.
What If You Lose Your Ledger?
If your Ledger device is lost or damaged, don’t panic. You can recover your crypto easily with your 24-word recovery phrase.
When you get a new Ledger device, choose “Restore from recovery phrase” during setup and type the 24 words carefully. Your crypto balances will then reappear in Ledger Live.
Final Thoughts
Ledger.com/start is the safest and easiest way to set up your Ledger wallet. The process takes only about 10 to 15 minutes, and once it’s done, your crypto is protected with some of the strongest security available.
Always remember:
Go only to Ledger.com/start
Write down your recovery phrase and keep it safe
Use Ledger Live for all crypto management
Keep your device firmware updated
A Ledger wallet gives you full control and peace of mind. You own your crypto — not an exchange or website.
If you’re serious about protecting your digital assets, starting at Ledger.com/start is the best step you can take today.